“Basically Gluten-Free” Long-Fermented Sourdough Bread
Bread-making was always so intimidating to me thanks to the intensive “Bread week” on The Great British Baking Show. I have been gluten-free since 2012, so “regular” bread was out of the picture for a long time. Thankfully, I discovered that long-fermented sourdough bread contains wild yeast that breaks down some of the gluten and “anti-nutrients” in bread. In 2020 I decided to give sourdough bread a go and was pleasantly surprised that I can tolerate it just fine without any ill side effects. Bread making has become somewhat therapeutic, a fun challenge and skill to learn, and a delicious way to creatively express myself. I am so grateful to have found long-fermented sourdough artisan loaves that require no kneading and are more puffy and satisfying than any other bread I’ve tried.
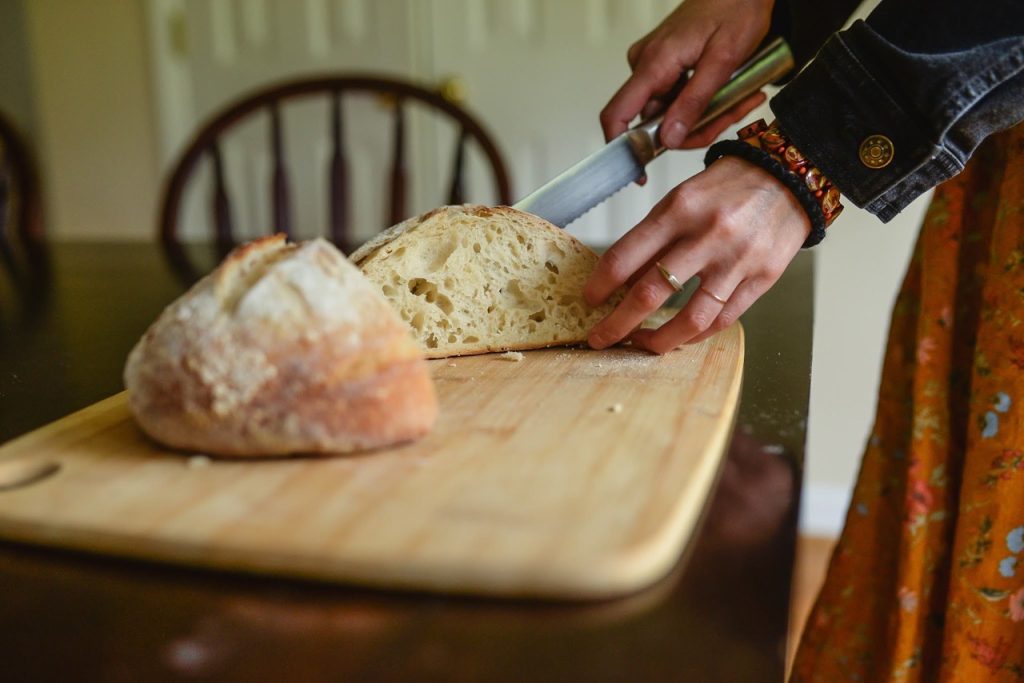
For those of you who have not been raised in a home where you grew up cooking or baking from scratch, welcome to the club. You might have a very real fear of baking or cooking, but this is truly worth learning.
Is Long-Fermented Sourdough Actually Gluten-Free?
The short answer is no, long-fermented sourdough is not actually gluten-free. However, there have been many studies conducted that reveal that the phytic acid, anti-nutrients, and gluten proteins do break down significantly after a long-fermentation period. In one study, 72 hour fermented sourdough reduced the FODMAP content by 91%. FODMAPs are components in various foods that can cause digestive distress for people, and gluten/wheat products are included in the list of FODMAPs. So although the gluten specifically wasn’t measured, this study showed that sourdough fermentation helps to break down the potential inflammatory instigators regardless of the type of sourdough fermentation. People who have celiac disease should consult their doctor and use extreme caution when trying out long-fermented sourdough. However, for those with NCGS (non-celiac gluten sensitivity), long-fermented sourdough may be a good option for you. To read a full description, click here to find out more about how long-fermented sourdough works!
Taking Care of Your Sourdough Starter for any Sourdough Breads
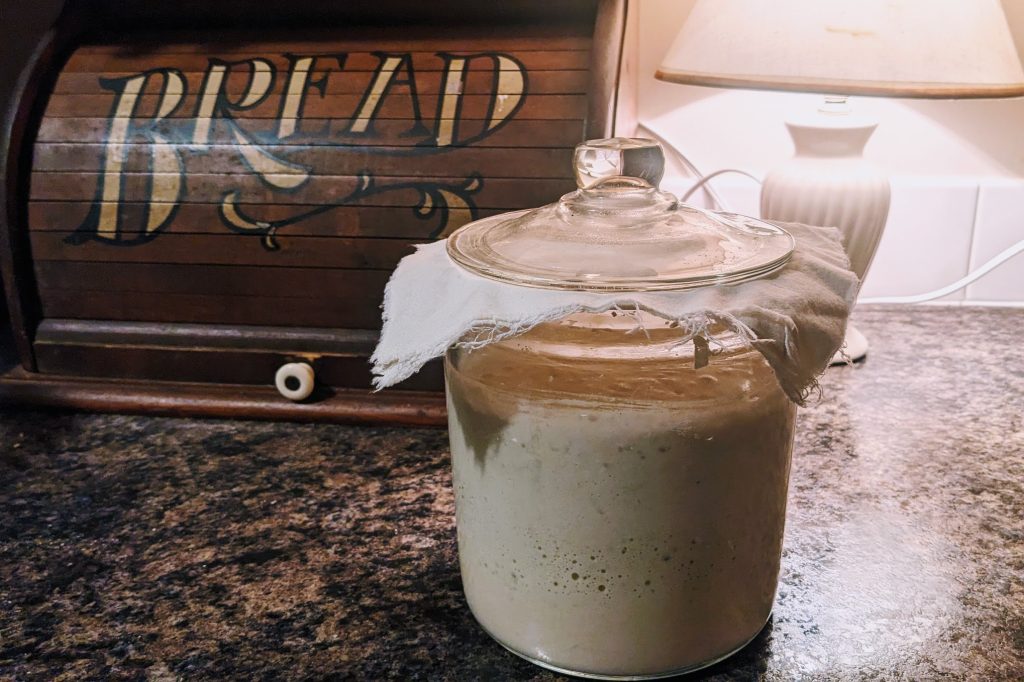
Note: I do not include making your own starter in this recipe. However, this is a very short explanation of how to feed your starter once you have one.
3-6 hours before you will be making your bread dough, feed your starter with 60 grams (1/4 cup) of water and 60 grams (1/2 cup) of all-purpose flour in a mason jar (combine it with a fork or spatula until completely mixed). Your starter should get bubbly and double in size after 2-4 hours, and it should have a fresh yogurt-like smell. Your starter is now “active” and ready to use in a recipe. You will repeat this process of “feeding” your starter after each time you use it in a recipe, so make sure to always keep a little bit of your starter for the next batch. I have included feeding your starter in the recipe as well.
There are many different sourdough bread recipes out there, but this is the one I have landed on that works best in my kitchen.
High Hydration, Long-Fermented Sourdough Bread Recipe
Print RecipeEquipment
- Two bowls, or one bowl and one proving basket
- 2-4 Clean tea towel or dish towels
- Kitchen scale
- Parchment paper that can withstand 450 degrees
- Dutch oven
- Knife or bread Lame (scoring blade)
- Optional but helpful: bench scraper, dough whisk, fork, plastic oven bag
Ingredients
- 50 g starter
- 375 g filtered water warmed slightly
- 500 g organic unbleached all-purpose flour or bread flour
- 10 g sea salt
Instructions
- Feed your Starter: about 3-4 hours before starting your dough, add 60 g (1/4 cup) water and 60 g (1/2 cup) flour to your starter with a clean fork. Cover and let rest for a couple of hours until it’s bubbling and double in size.
- Making the Dough: Add 50 g starter 375 grams of warm filtered water to a bowl. Mix to combine using a fork or dough whisk. Add 500 g organic unbleached all-purpose flour or 10 grams salt to the same bowl. Combine with a fork, dough whisk or your hands until it resembles a shaggy dough. Cover with a clean towel for 1 hour and let rest.
- Stretch and Fold: Stretch and fold every 30 minutes for a total of 4 times over the next 2-2.5 hours (to see how to do this, watch here). Cover with a clean damp towel. If you dip your hands in a little bit of water before stretching and folding, it keeps the dough moist and from sticking. At this point the dough should firm up a little bit and have a nice gluten structure.
- Bulk Rise: Let your dough rest for 8-10 hours (during winter; 6-8 hours in summer) in the bowl on the counter or in a warm space. Cover with a clean damp towel.
- Pre-shape: Before bed or in the morning after the bulk rise, pre-shape your dough after it’s risen about 30-50% by stretch and folding into a ball. Then in a proving bowl or regular bowl with a flour-covered towel inside, place your dough. Cover with another clean towel and let sit for another 30 minutes. Put in the fridge for a couple of days.
- Long-Fermentation Rise in Fridge: Place your floured bowl or proofing basket in the fridge for 48-72 hours. Cover with a damp towel to avoid dry/crusty dough, with another dry towel on top (or just wet half the towel and then keep the other half dry, folding over so that they top half is dry).
- Preheat: After 72 hours, preheat your oven to 500 degrees Fahrenheit, and preheat your Dutch oven inside the oven for 30 minutes before baking your bread.
- Last Rise and Scoring: As the oven is preheating, take out your dough from the fridge and place the dough onto parchment paper. Score the top of the dough using a sharp knife or bread Lame with any design (such as an X, a ( or a + ) which will allow for the bread to expand as it goes in the oven.
- Bake: When the Dutch oven is pre-heated, place the dough/parchment in the Dutch oven and cover with the Dutch oven lid. Bake for 20 minutes at 500 degrees Fahrenheit. Then remove the lid on the dutch oven and bake for 7-10 more minutes depending on desired crust. Once your bread is cooked and has a nice desired color on top, remove it from the Dutch oven to sit on the parchment paper/counter and let cool for 1 hour before cutting into it. Enjoy!




Love this recipe!! Thanks so much, Ive been looking for a good long ferment one!!
I was wondering if this recipe could still be done without a Dutch oven?
Yes it can! If you don’t have a dutch oven, shape and score your bread on parchment paper and then place it either on a pre-heated cast iron pan or a cookie sheet. While the oven is preheating place a second cookie sheet in the lower rack of the oven to heat up. Then when you go to put your bread in the oven, throw a few ice cubes onto the cookie sheet below so that the steam from the ice cubes helps the bread rise. Hope this helps!
How much starter do you start with? It says add 1/4 cup water and 1/2 cup flour but it does not say how much starter. I took a guess and used 1/2 cup starter but that does not lend itself to high hydration.
Great question. Do you mean how much starter do you start with in your jar before feeding it? If so, then you can start with as little as about 1/4 cup of sourdough starter and it will still get bubbly when you feed it. Hope this helps. As for the actual recipe, you’ll use 50 grams of active sourdough starter in the actual recipe.
So are you sure it’s that low in gluten after a long ferment? I was curious because what keeps the dough tight and in sharp if there isn’t much gluten. I am trying to figure this out as I have Hashimoto and supose to not have gluten and wanted to try the long ferment. Right now I do a 48 hours long in fridge ferment after the bulk ferment. Thank you
Hi Adina,
I have not personally tested the gluten content of long-fermented bread, however, based on the research studies done on long-fermented sourdough, the gluten and “anti-nutrients” (phytic acid and other components that give people problems) break down partially after long-fermentation to a point where many people who have gluten sensitivities can enjoy it and have little to no ill side effects. It does not fully break the down gluten, but it is often easier to digest for people when long-fermented. Do you tolerate your 48 hour dough well?
Hello would you please share the flour and the parchment paper you use? I
It seems my parchment paper is only safe for 428F.
Hi Nina,
I use this parchment paper. It says that it only heats up to 450, but because it is in the dutch oven I have never had a problem with it burning.
For flour, I would recommend King Arthur bread flour if you don’t have a local mill near you.
Very disappointed with the recipe. The weights and measurements are off. 10g of salt is about 2.5 tsp, not 1.5. 500g of flour is about 5 cups not 2. Is this recipe for two loaves? I go by weight and it’s very confusing to think i’m using twice the flour or salt i should be. Please correct this.
Hi Mary, sorry for the confusion. This recipe is for one loaf of bread. I use sea salt which can vary in weight/be heavier than most other salts, and often flours can have different weights as well depending on how you pack it while measuring. Thank you for noticing though, and I have deleted the cup measurements so as not to confuse other because I also measure by weight usually. Hope that helps. Blessings